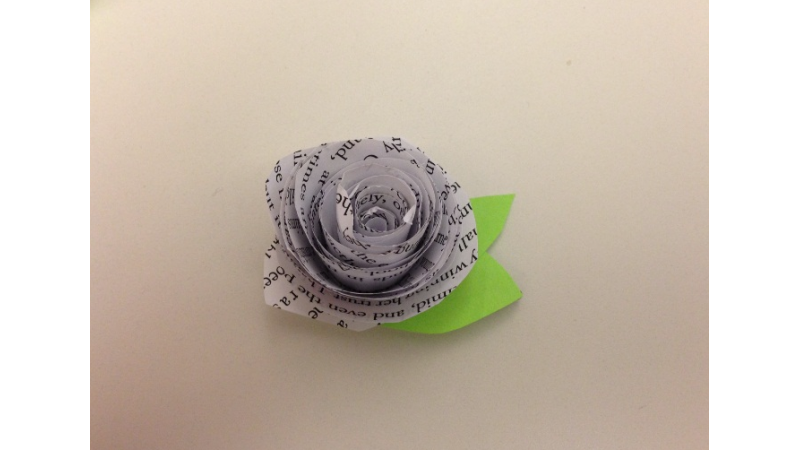
 January is International Creativity Month, and we're highlighting great, crafty, bookish things you can do yourself to put your creativity to good use! Here's Emily Morrow from This is Teen, who gets to be creative every week with her DIY projects. Thanks, Emily!
For the past four months or so, I’ve been posting bookish DIY projects each Wednesday — everything from bookends and wall art to jewelry and holiday decorations.
The holiday-themed crafts have been big hits, like YA-inspired pumpkin stencils, a bookish menorah, or a Christmas tree made of books. But one of the most popular posts so far has been this how-to for a book-page flower.
What you’ll need:
- A book page (or several, if you want to make a bouquet)
- Scissors
- Glue
- Optional: green paper for leaves
Step 1: Start with your piece of paper (or book page) and cut out a circle. Jagged edges are encouraged!
Step 2: Cut into the circle in a spiral shape.
Step 3: Starting from the outside edge of the spiral/circle, begin rolling the paper tightly
Step 4: Once you’ve rolled it all the way up, you should have a tightly wound rosette. Let it go and fluff out the “petals” a bit.
Step 5: Put some glue on the end of the spiral and press the rosette down. This will hold the flower in place.
Optional Step 6: Cut out green paper for leaves and glue to the base of the rosette.
If you want a bouquet, keep cutting, rolling and gluing that paper!
Want more? You can check out all of our WednesDIY features here! Got a great idea for a future craft? We’d love to hear it in the comments! And for your weekly dose of DIY, be sure to follow This is Teen on Tumblr, Facebook, Twitter, and Pinterest!


